Minecraft House Tutorial Step by Step Easy
Apart from Netflix nowadays, unusual Minecraft houses are probably the second most popular thing on this planet! Soon after its first launch, it immediately became really famous, and now everyone is addicted to this fantastic game (including me). So, basically in this game, you can build any type of house. And if you're looking for some house inspirations, you've landed on the right page. Today in this blog, I'm going to tell you about the Minecraft Medieval House.
Whether you want a sturdy Minecraft castle built from stone or a simple rustic village dwelling fashioned from oak, you can make a house in any shape and size. These houses will give you aesthetic and authentic antiquated vibes. So if you're excited to build your first medieval house, keep on reading. In this blog, I'm going to tell you how to build a Minecraft medieval house in just ten simple steps. But first, let me tell you some basic features of any Minecraft medieval house.
Below listed are a few common things that are usually included in Minecraft Medieval House:
- A basement including furnaces and lots of chest storage. There is also direct access from the basement to the mining shaft (a small area to install a furnace).
- A kitchen is generally built on the main or the ground floor. It has a lot of storage space and a crafting table.
- On the second floor, you can create a bedroom, a portion brewing area, and a walk-out balcony for sniping mobs(enemies).
- On the top floor, you can also create a library or extra relaxing area.
- Additionally, you can build a farming area and a stable to rest your royal horses or Donkeys.
How to Build an Easy Medieval House
This medieval house was constructed by BlueNerd. This is a simple build with some traditional style architecture . This construction would fit perfectly in the middle of any medieval village or in a forest. Pretty easy to build from gathered materials, this house could be a great survival place. So get ready to design, create, and build.
Let's get building,
Step 1: Layout and Materials Needed
First, let's talk about the basic materials that you'll need in the construction of this structure. Below is the layout in which we're going to build our house:
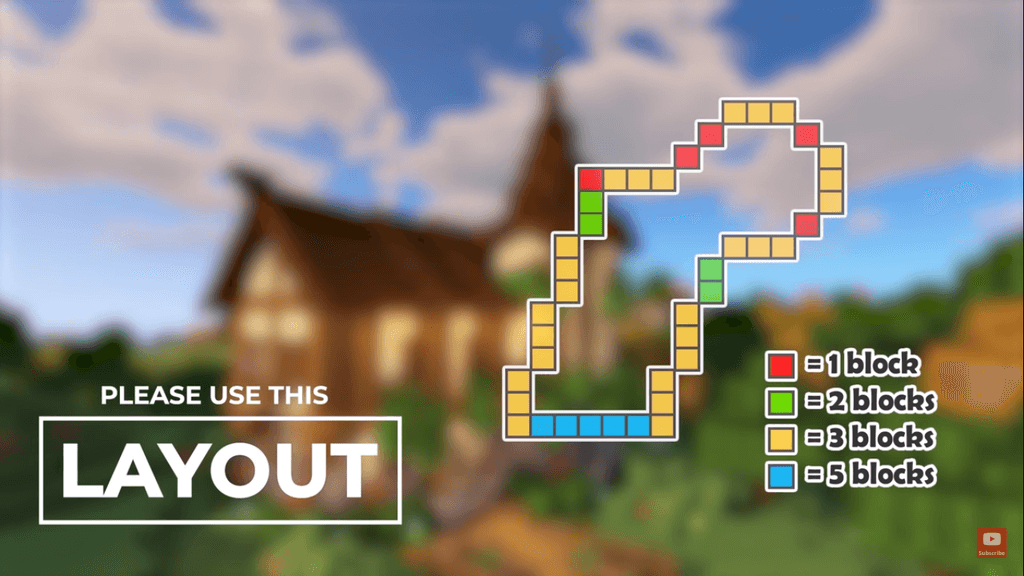
Source: youtube.com
Here is the list of all the things you need to gather if you build want to build this house for survival:
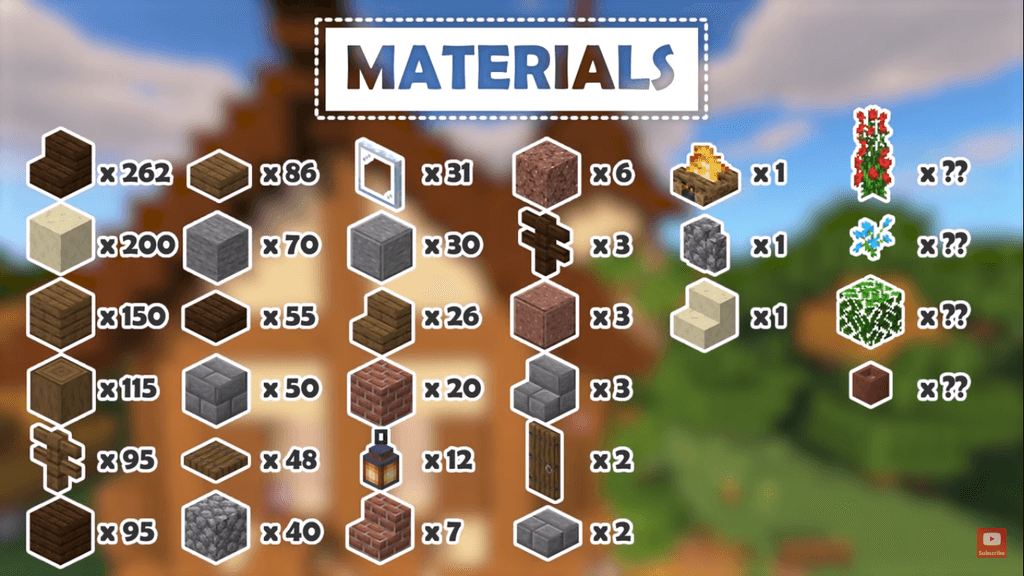
Image Source: youtube.com
- oak trunks
- cobblestone
- stone brick stairs
- cracked stone bricks
- glass panes
- door of choice
- stone brick slabs
- Spruce trapdoor
- acacia wood planks
- acacia wood stairs
- glass blocks
- wooden trap doors
- acacia slabs
- fencing of choice
- fence gate
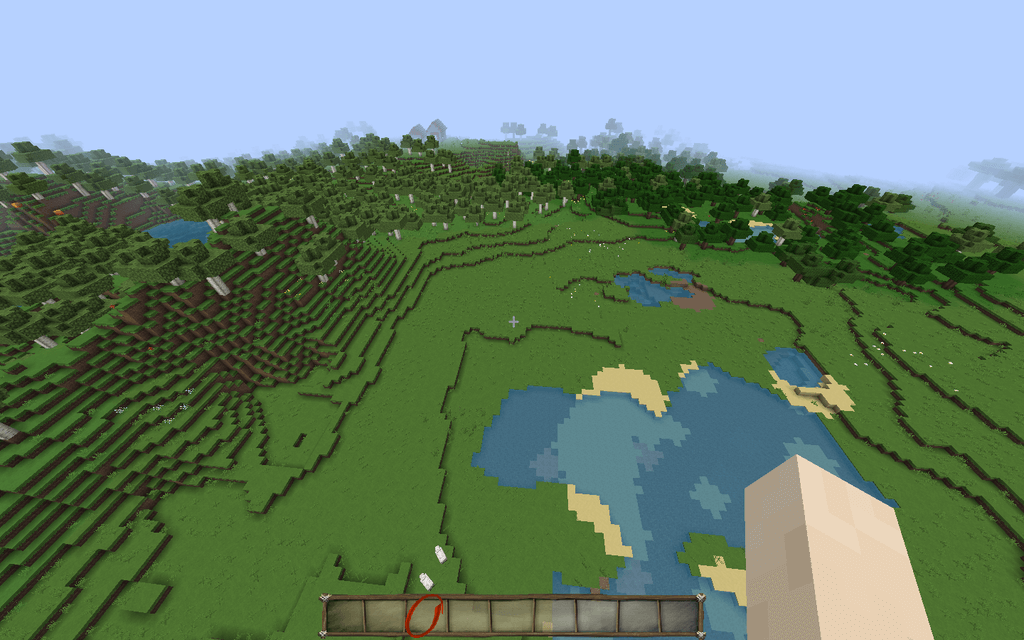
Step 2: Find a Nice Flat Place For Minecraft Medieval House
Source: youtube.com
The overall shape of the house will be an L-shape, so find a nice flat area to build your house. If you want to add a basement, find a land where you can dig easily!
Step 3: Build The Foundation
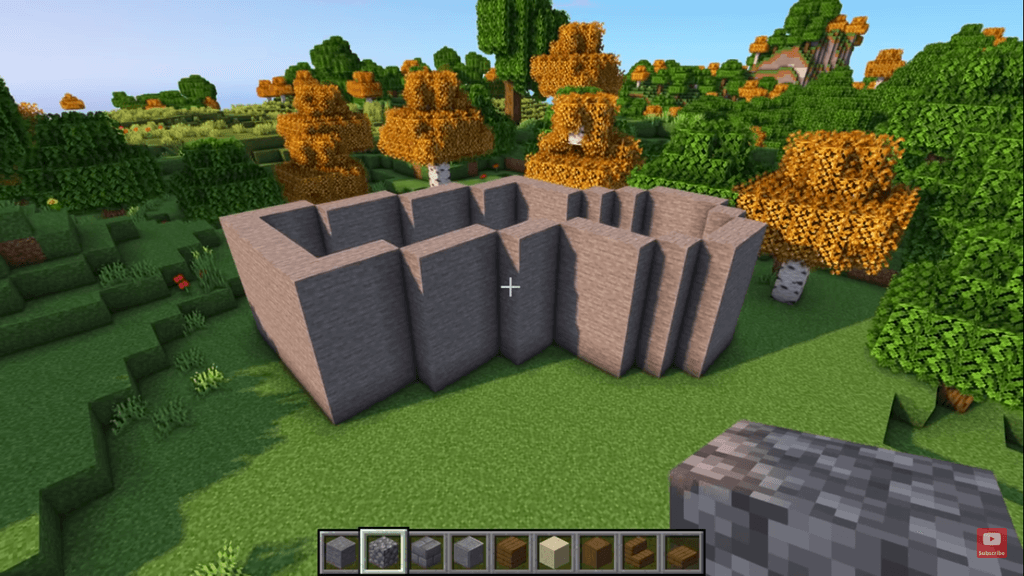
Image Source: youtube.com
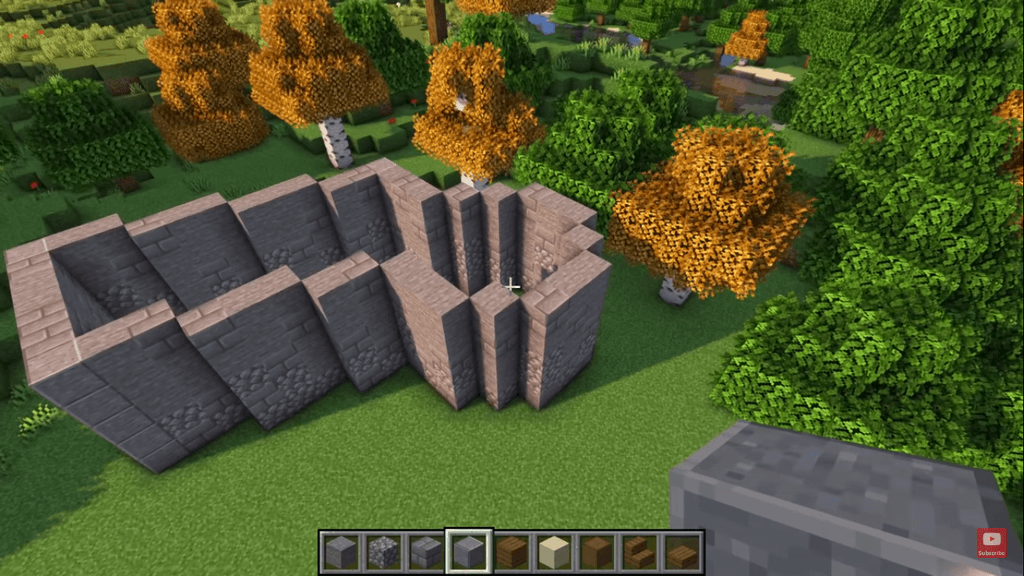
With the layout provided, now let's start laying our foundation. Use stones or blocks
and stack them on one another with a total of 5 blocks high. You can also randomly texture the walls with cobblestone and stone bricks. Try to keep the pattern as random as possible to get a more natural look.
After this, it's time to replace the main corner blocks with polished andesite. Repeat the same process with the corner blocks of the tower. After doing this, your structure will look something like this:
Source: youtube.com
Step 4: Build a Doorway + Add the Flooring
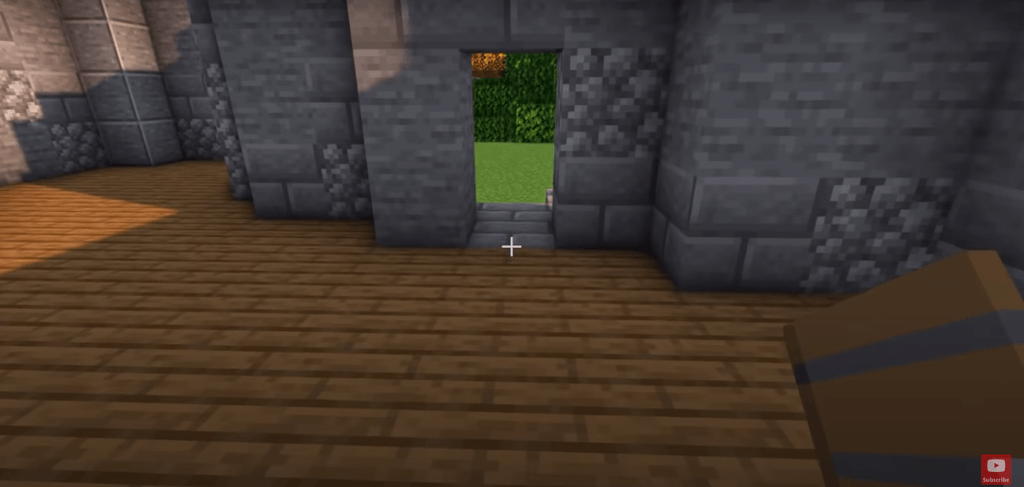
Image Source: youtube.com
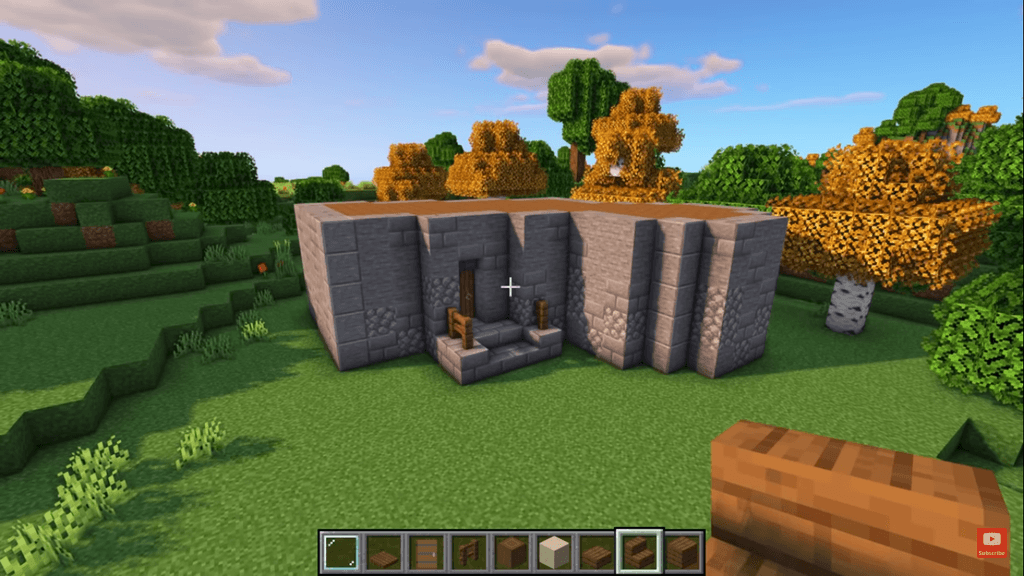
To make the main entrance for the house, you have to break some stones on one side of the wall. Then at a little free section, place three stones, three spruce fences. After this, put three spruce trapdoors and finally add a door. Now take some spruce planks and start filling your ground floor. Repeat the same thing on the top of the walls to make the base for the second level.
Source: youtube.com
Step 5: Add The Frame to Build Minecraft Medieval House
Image Source: youtube.com
Source: youtube.com
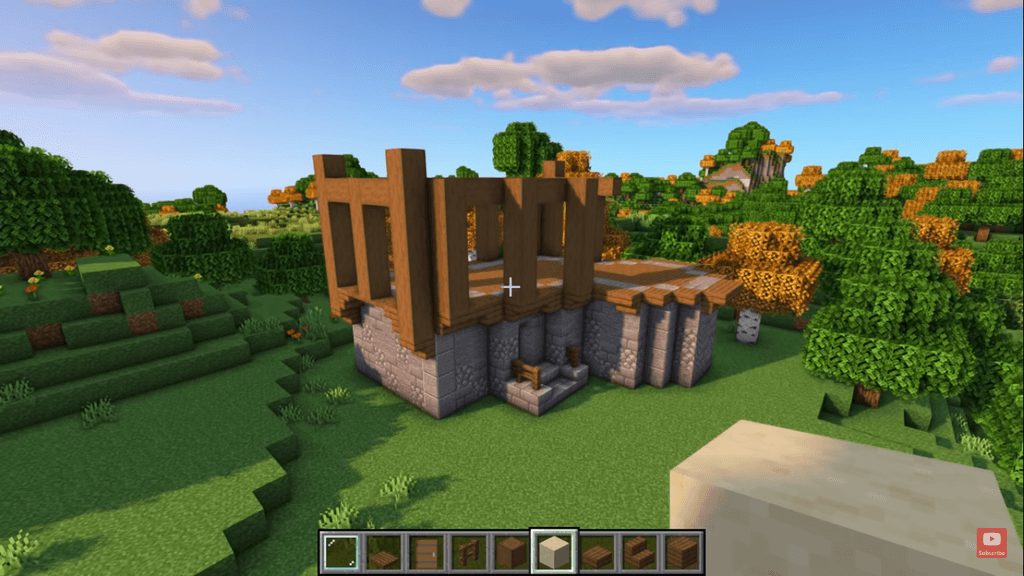
Now let's begin building the upper level. On the top of the structure, add upside-down spruce planks on the sides and one regular block or spruce slab in between them. Now place four spruce slabs in the middle of each side, so they're level with the corners.
Now, add six strip spruce blocks on the top to make a raise. Don't forget to connect the top of the pillars with the same spruce blocks. (Use the photos as a guide).
Step 6: Construct The Walls & Tower
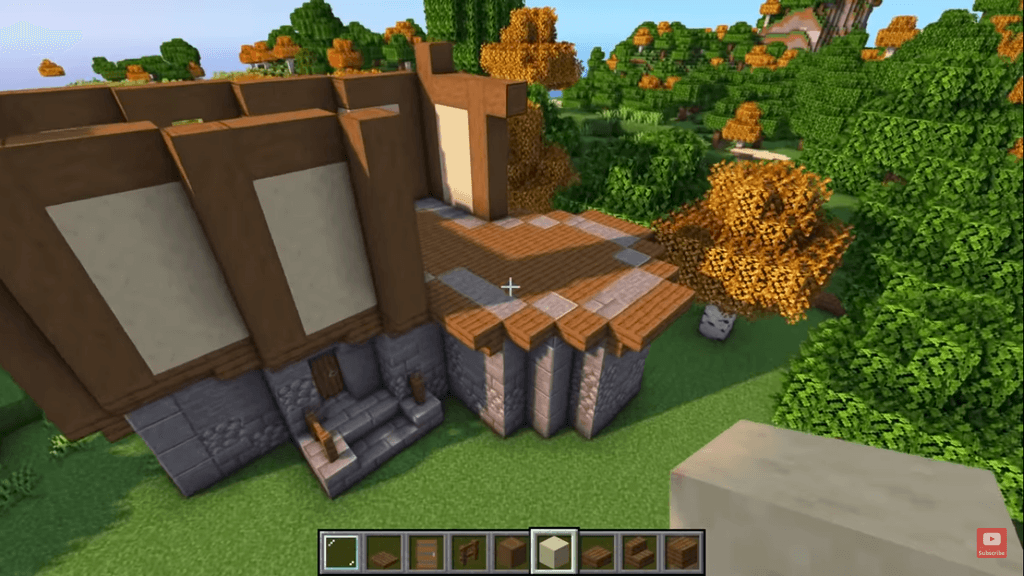
Image Source: youtube.com
Now we're going to create our walls with smooth sandstone. Fill in all the gaps (except for one part) by placing sandstone two blocks wide and four blocks high.
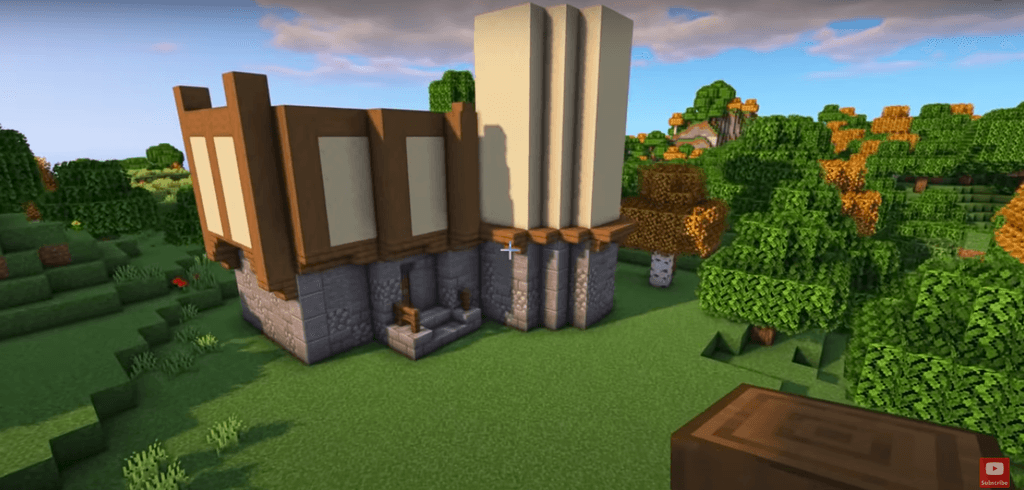
To make a tower, start placing the same smooth sandstone blocks in the empty space. Put them around in a square shape and raise them until they're nine blocks high in total. This will look something like this:
Source: youtube.com
If you want to add a balcony, put some spruce slabs on one side of the house. Now you'll see some gaps are left behind. Fill all of the remaining gaps with spruce logs.
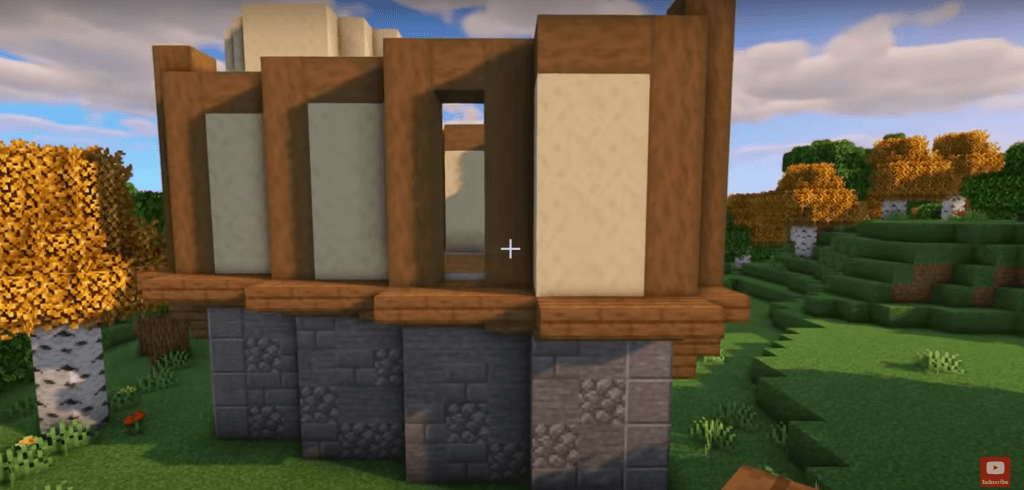
Image Source: youtube.com
Step 7: Build the Roof
Source: youtube.com
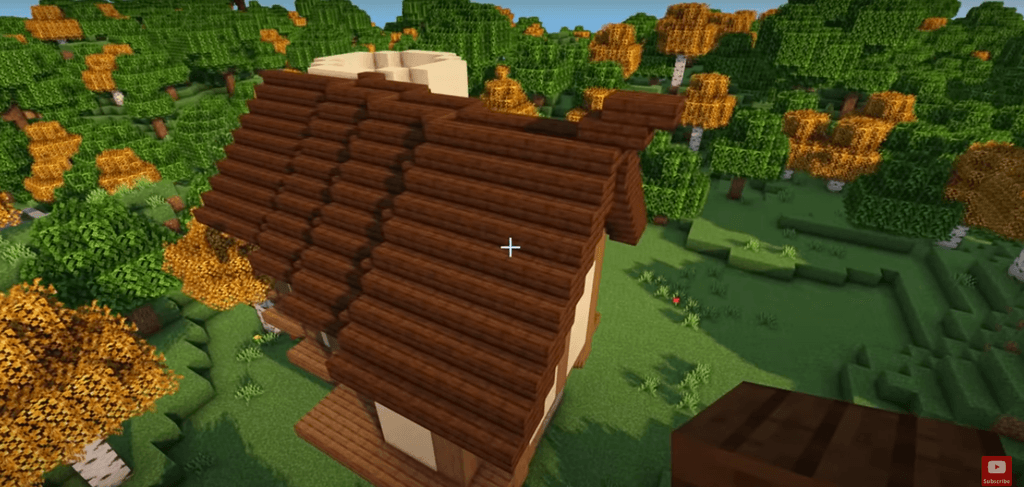
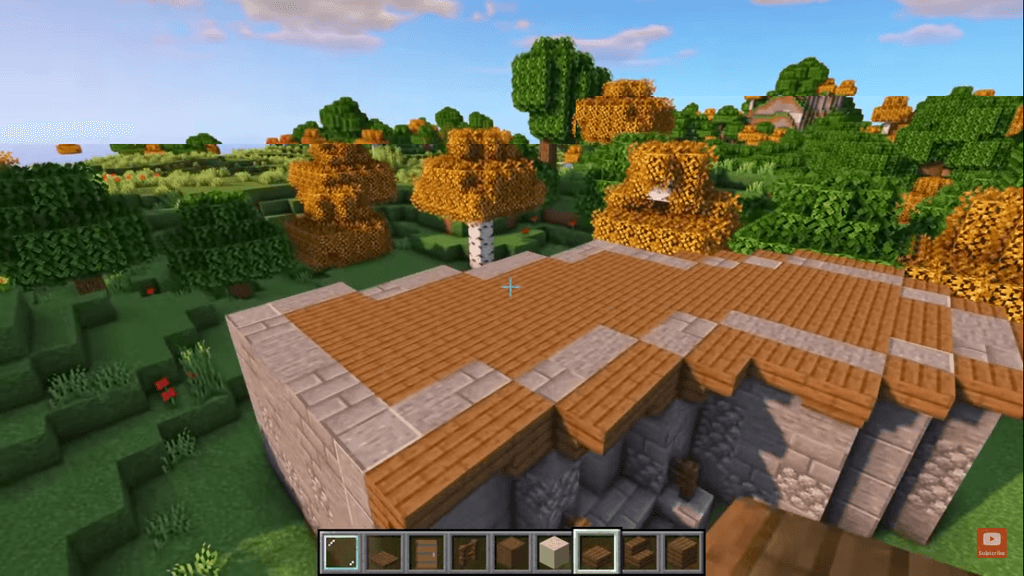
For the roof, you'll need dark oak stairs. Start placing them side by side and also put one extra block overhung. Do this on all four corners of the structure. Follow the same procedure and do this on both sides to get a nice A-line roof. Your roof will be looking like this:
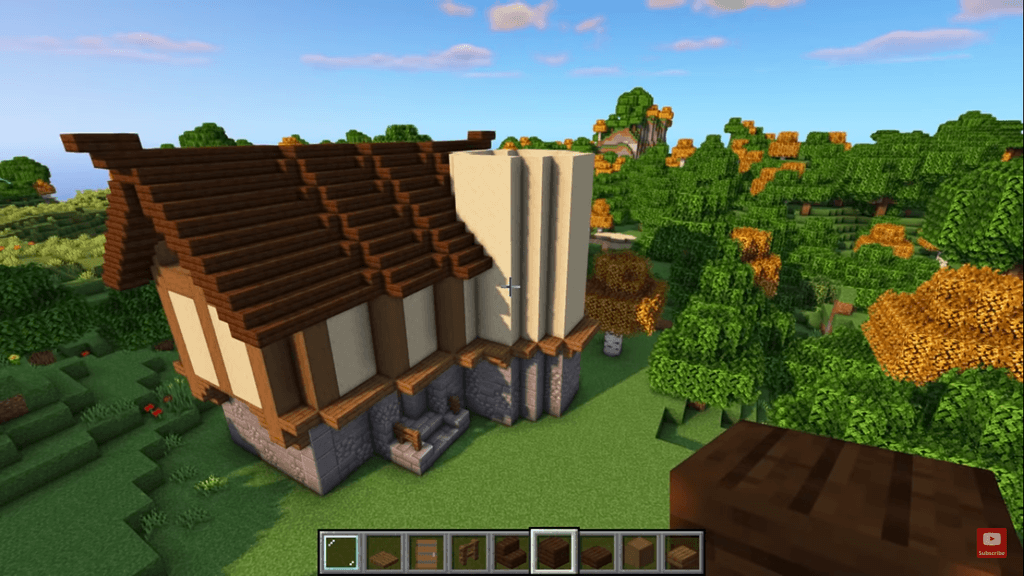
Image Source: youtube.com
Now let's start working on the tower roof. For this, you'll require some slabs, dark oak plank, and dark oak stairs. To make the top, put planks and raise them twice and finally add three dark oak fences on the top of the planks. (See the video for more clarity).
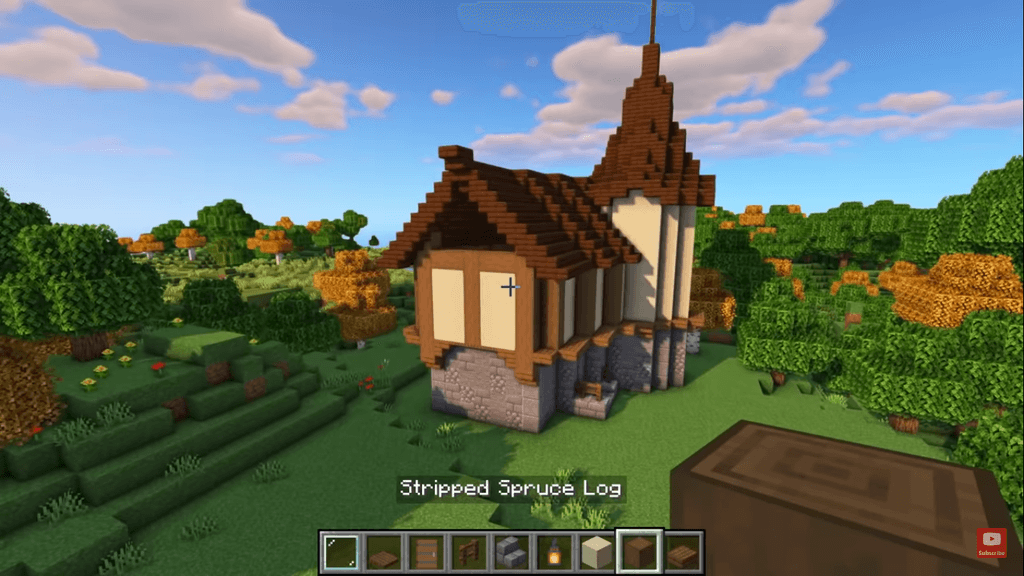
Source: youtube.com
Step 8: Add Windows and Shutters
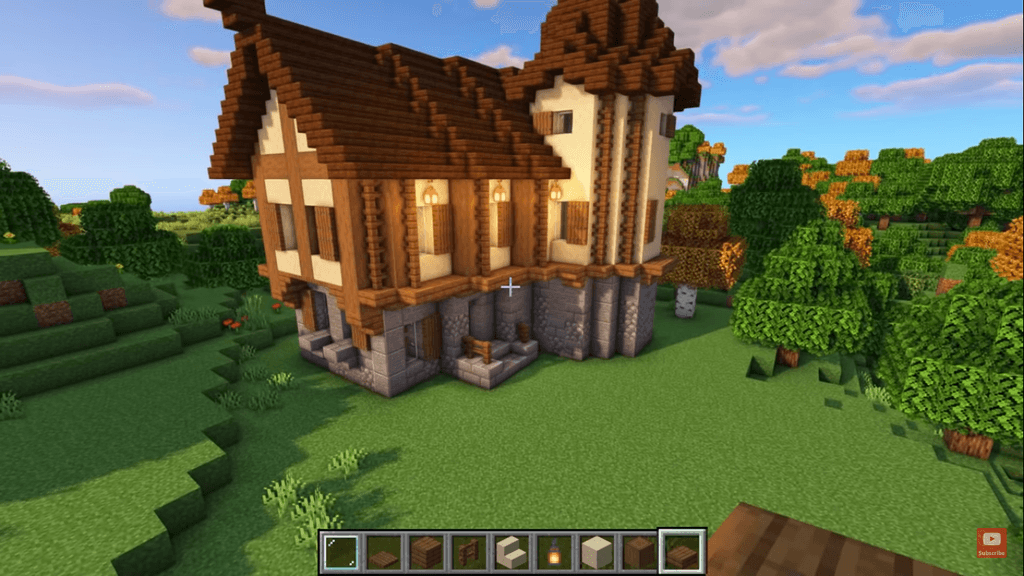
Image Source: youtube.com
Now it's time to make some windows in your house . After all, no home will be complete without it, right? So, break the two stones, and then install an upside-down stone at the bottom. Place a glass plane of your choice and use spruce trapdoors for the shutters. Do the same for all of your windows.
For extra decorations, you can also add spruce fences and get a more finished look. Just take them and start placing them from the bottom of the second level up to the roof. Add lanterns above all the windows to brighten up space.
Also Read: Cool Minecraft House Ideas – 9 Brilliant Inspirations to Build Your Dream Home
Step 9: Add the Chimney
Source: youtube.com
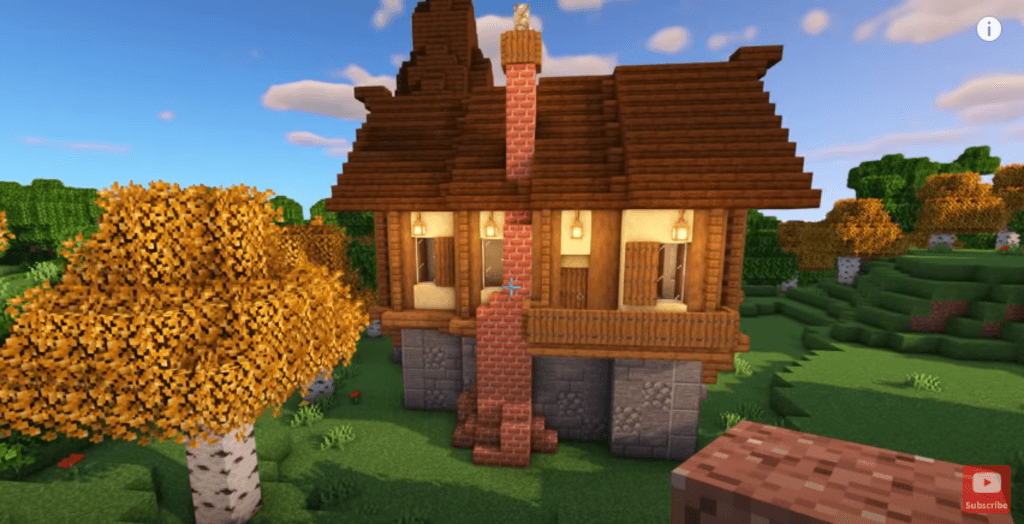
As you're building a medieval house, a chimney is an important and necessary part of the home. Here the chimney is made up of cracked stone bricks and stone brick stairs. To make this, place 2 X 2 row bricks starting from the bottom to the top of the roof. You can also add a few details with granites and polished granites.
Then add four-row bricks and a campfire on the top. Don't forget to surround it with some spruce trap doors. Finally, add a cobblestone block on the top of the fire, and your chimney is ready. Isn't it looking pretty?
Step 10: Decorate Your Minecraft Medieval House
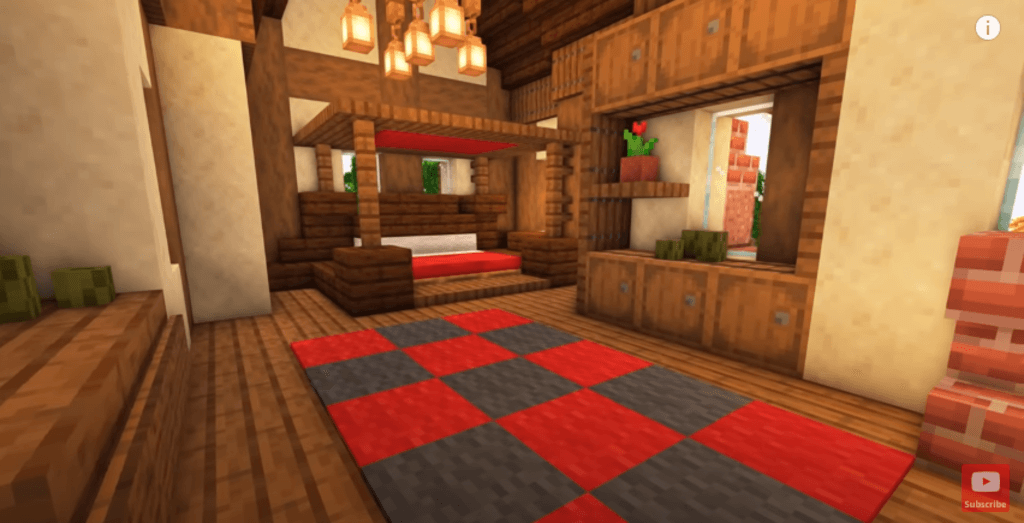
Image Source: youtube.com
After you're done with the chimney and other details now, you can decorate your pathway with some leaves and flowers. You can decorate your house interior as you want.
Here in this Minecraft house design, there are basically three main levels:
- On the ground level, there is an open kitchen with a lot of storage cabinets. There is also a stove and heater. There is also a small living area that also has a table for work.
- On the upper level, there is a huge bedroom with a fireplace and some decorative shelving areas. You can also use some chandeliers and lights to brighten up your place. There is also a balcony that can be accessed from the master bedroom.
- Finally, on the last level, there is a small corner that can be used as a reading nook.
This is just a small decorative house, not a much survival house, but this will fit into any village nicely. Take more interior inspiration from our blog on Minecraft Interior Design Ideas.
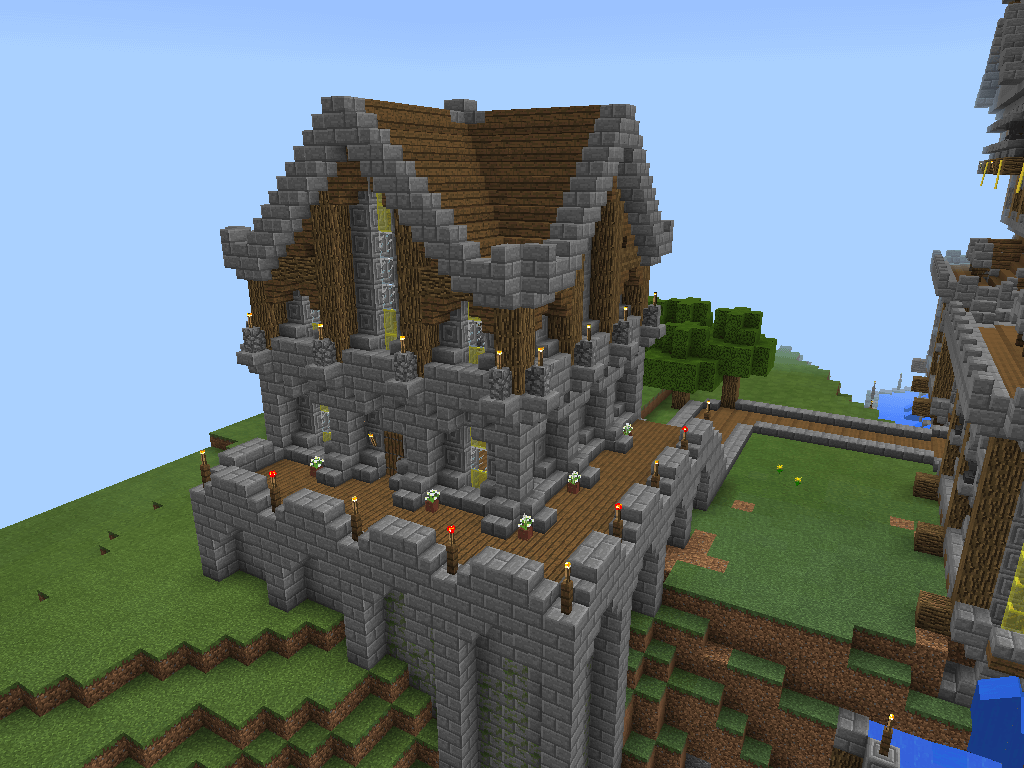
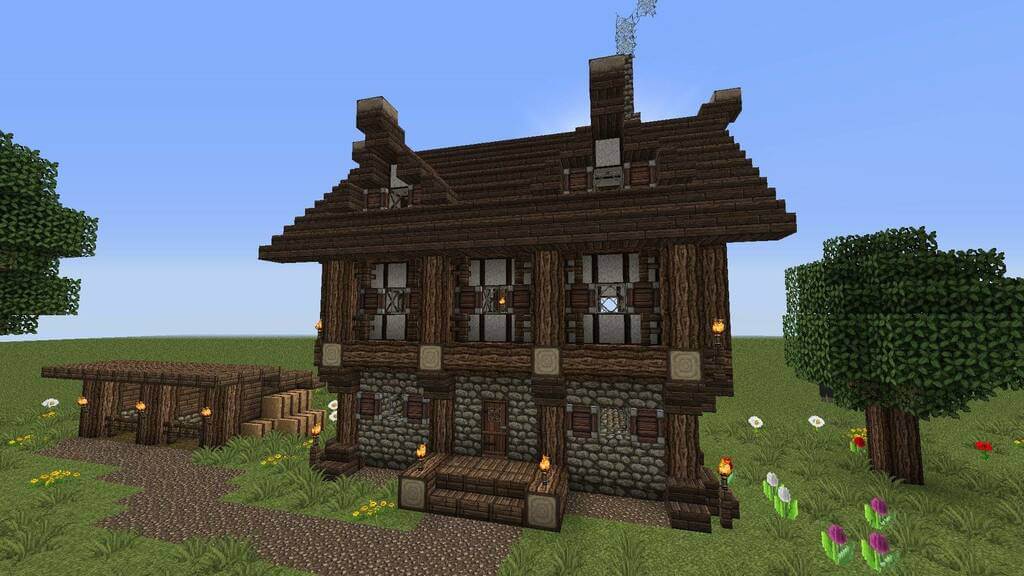
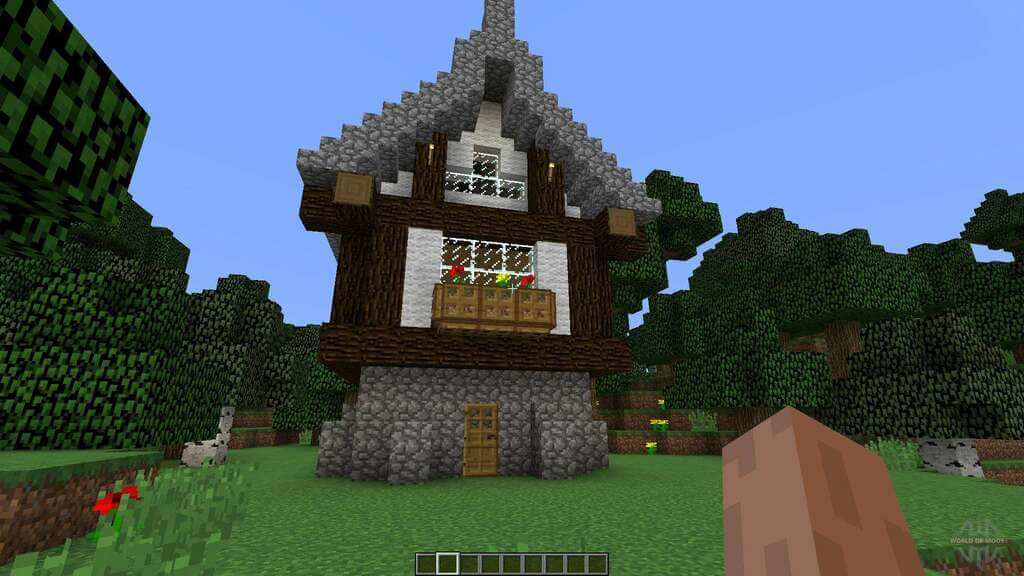
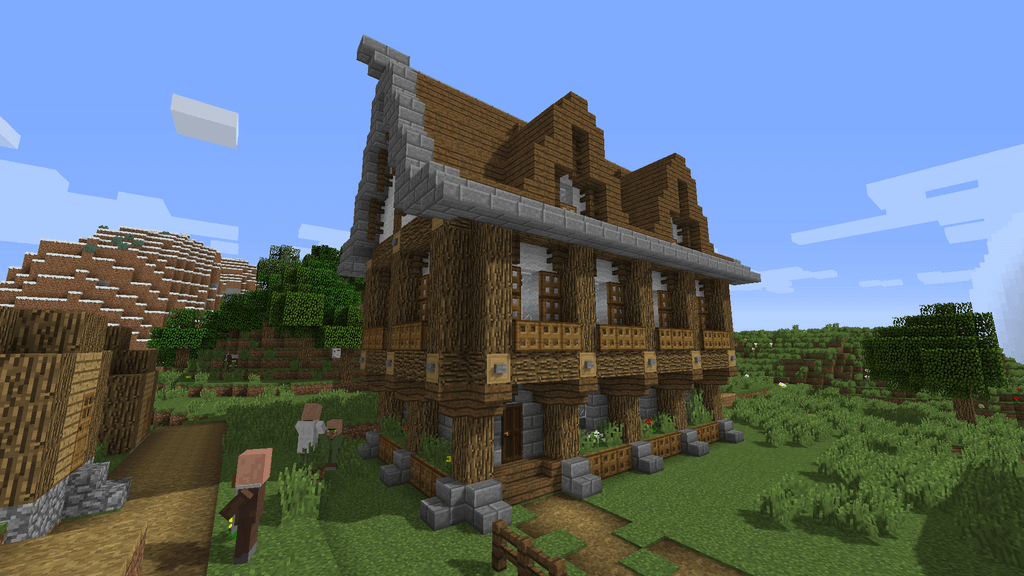
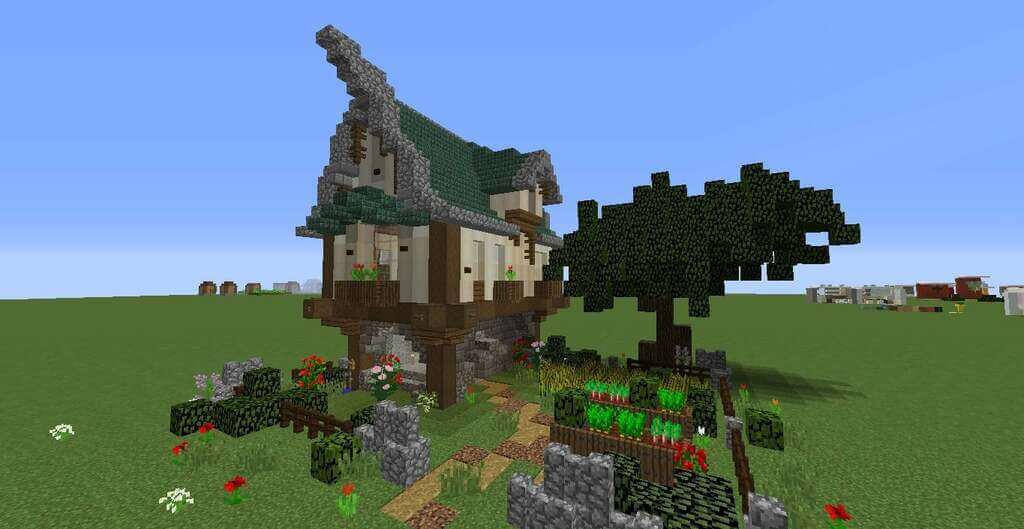
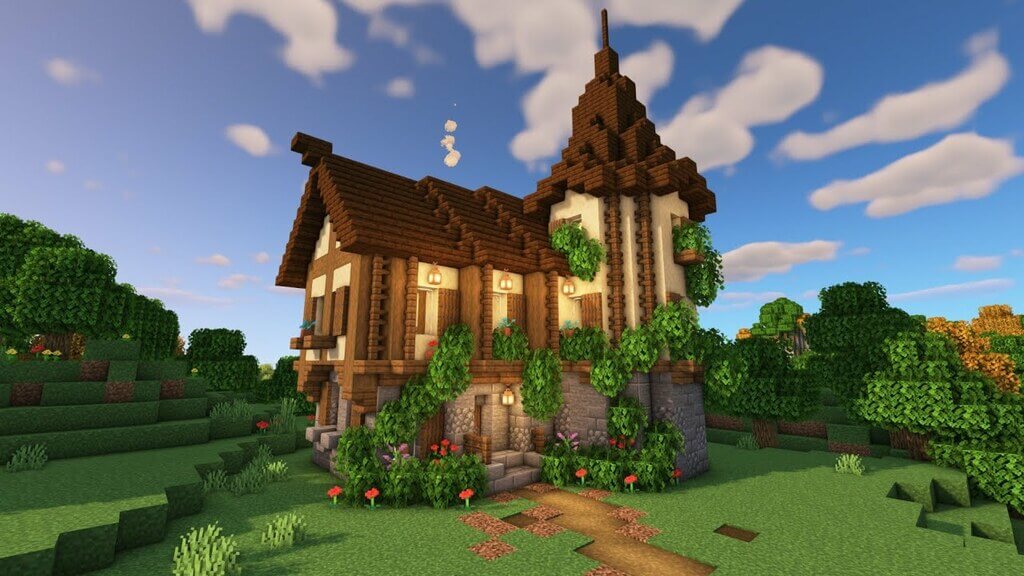
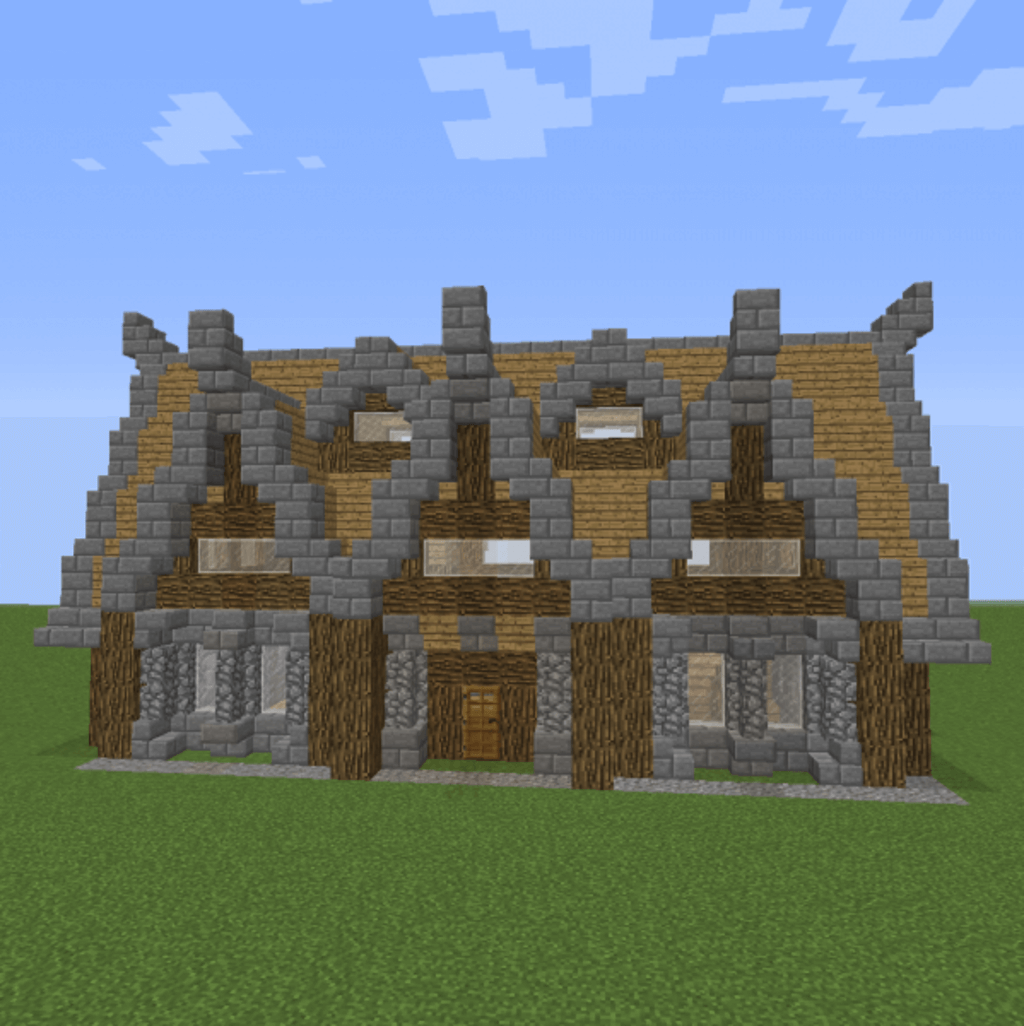
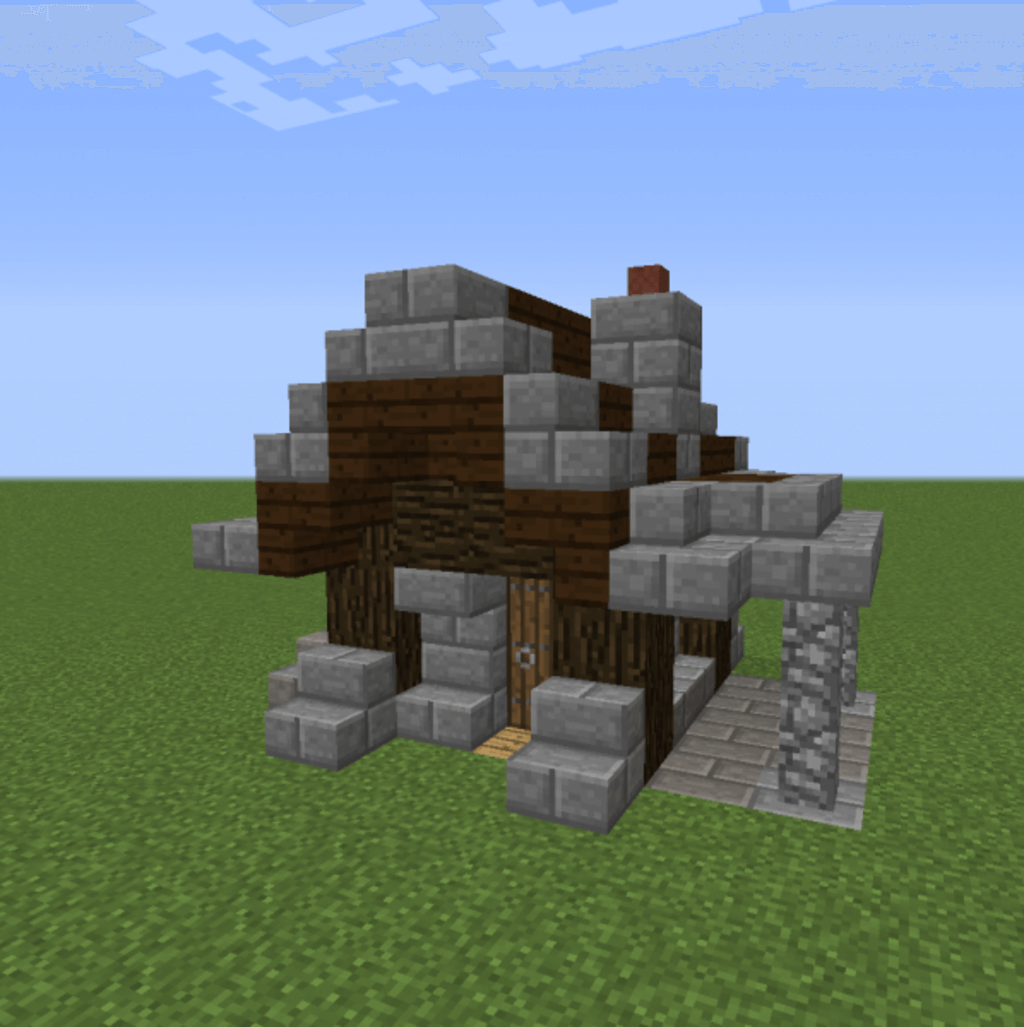
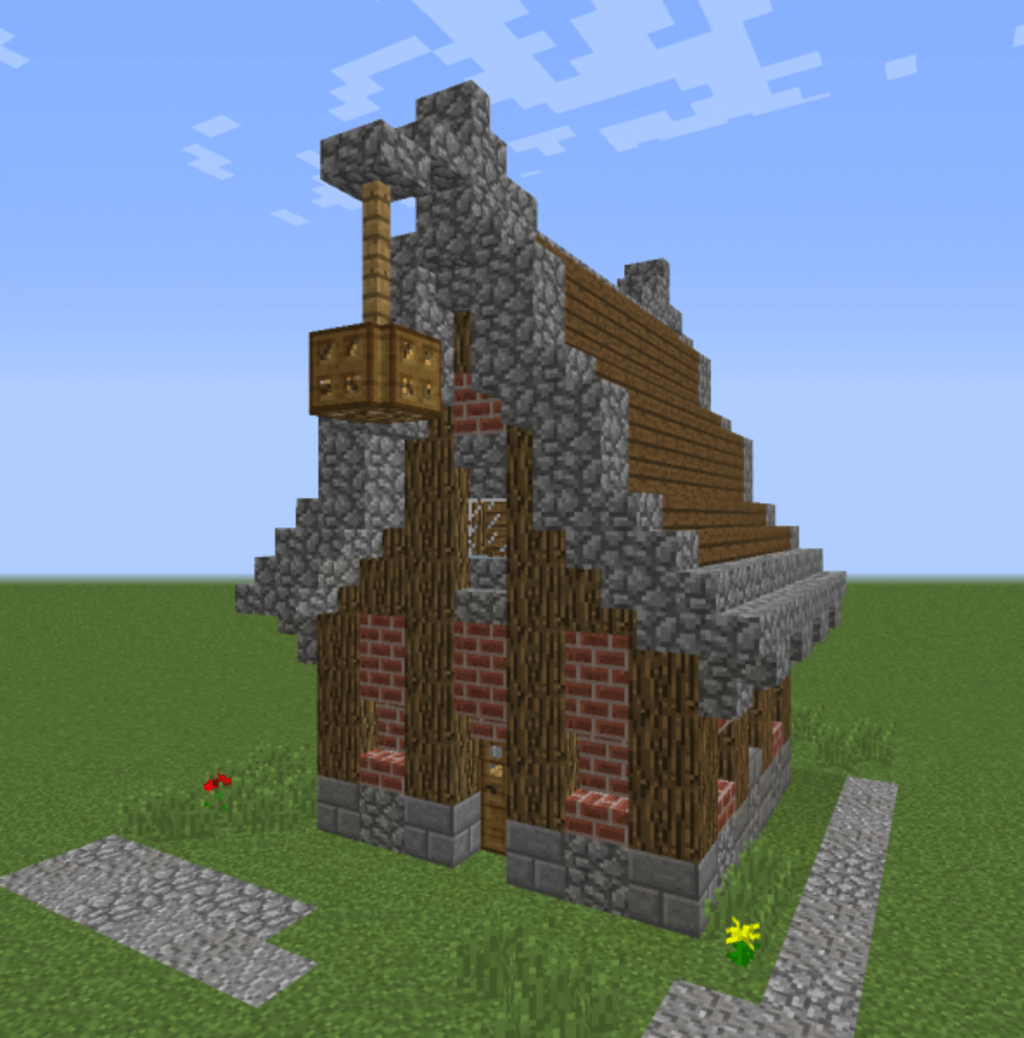
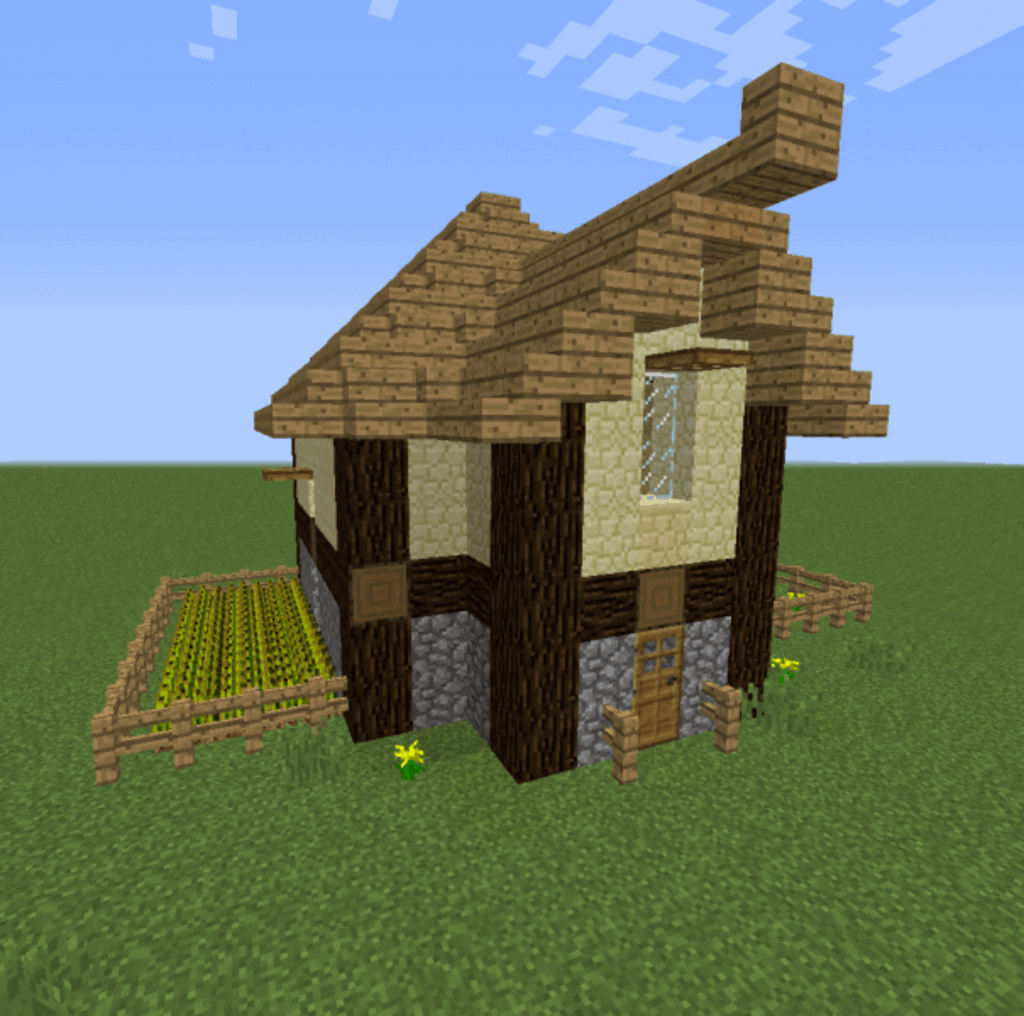
Here are some more cool Minecraft medieval houses:
Source: pinimg.com
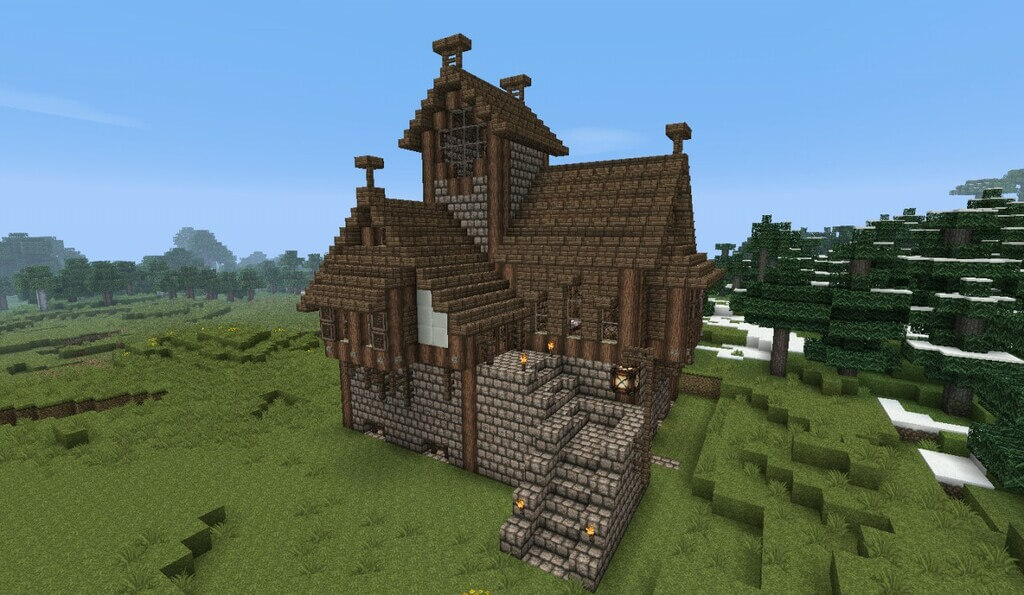
Image Source: planetminecraft.com
Source: jhmrad.com
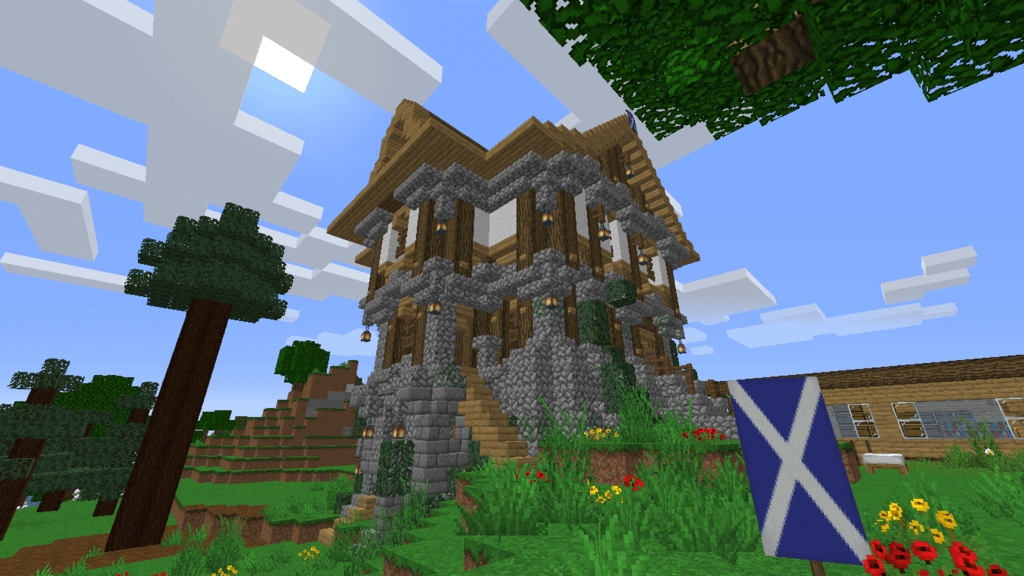
Image Source: redd.it
Source: worldofmods.com
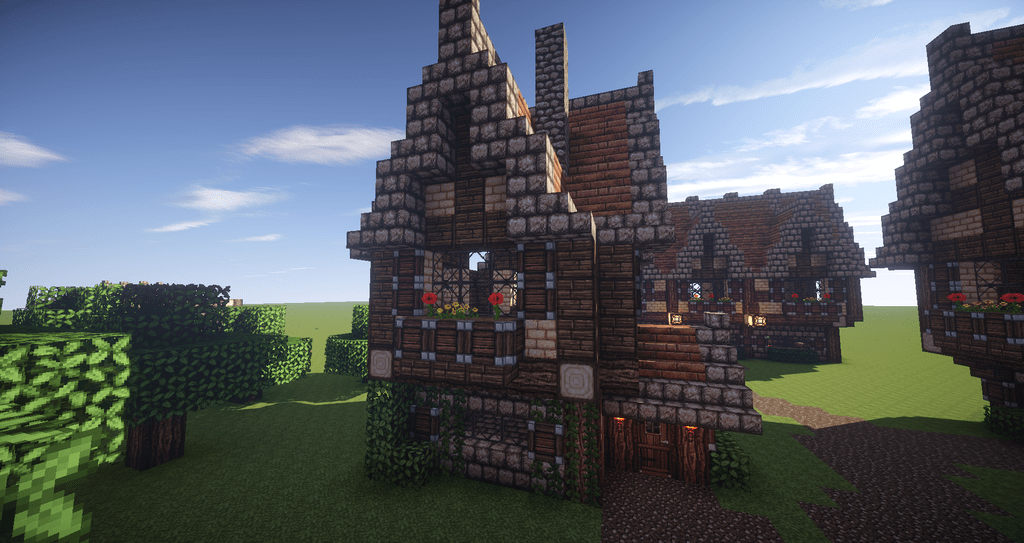
Image Source: wixmp.com
Source: redd.it
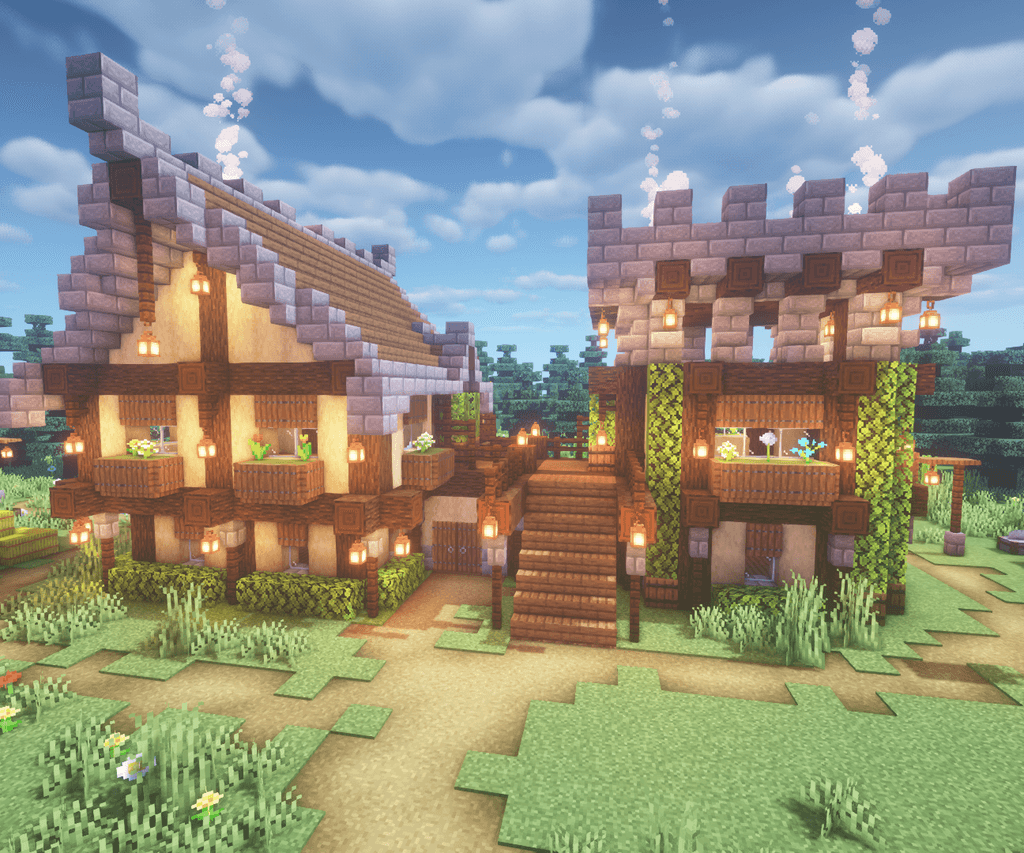
Image Source: instructables.com
Source: redd.it
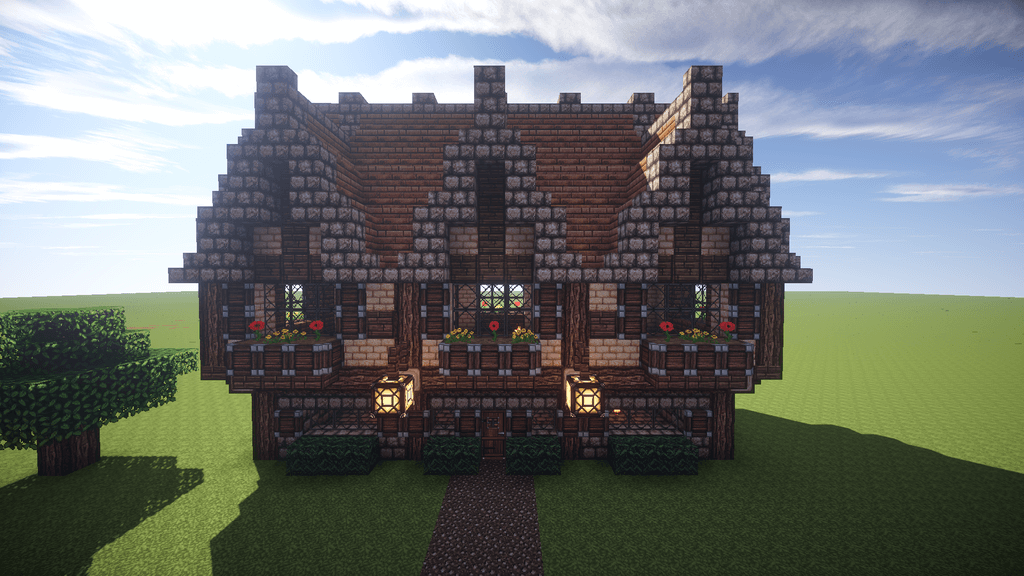
Image Source: wixmp.com
Source: ytimg.com
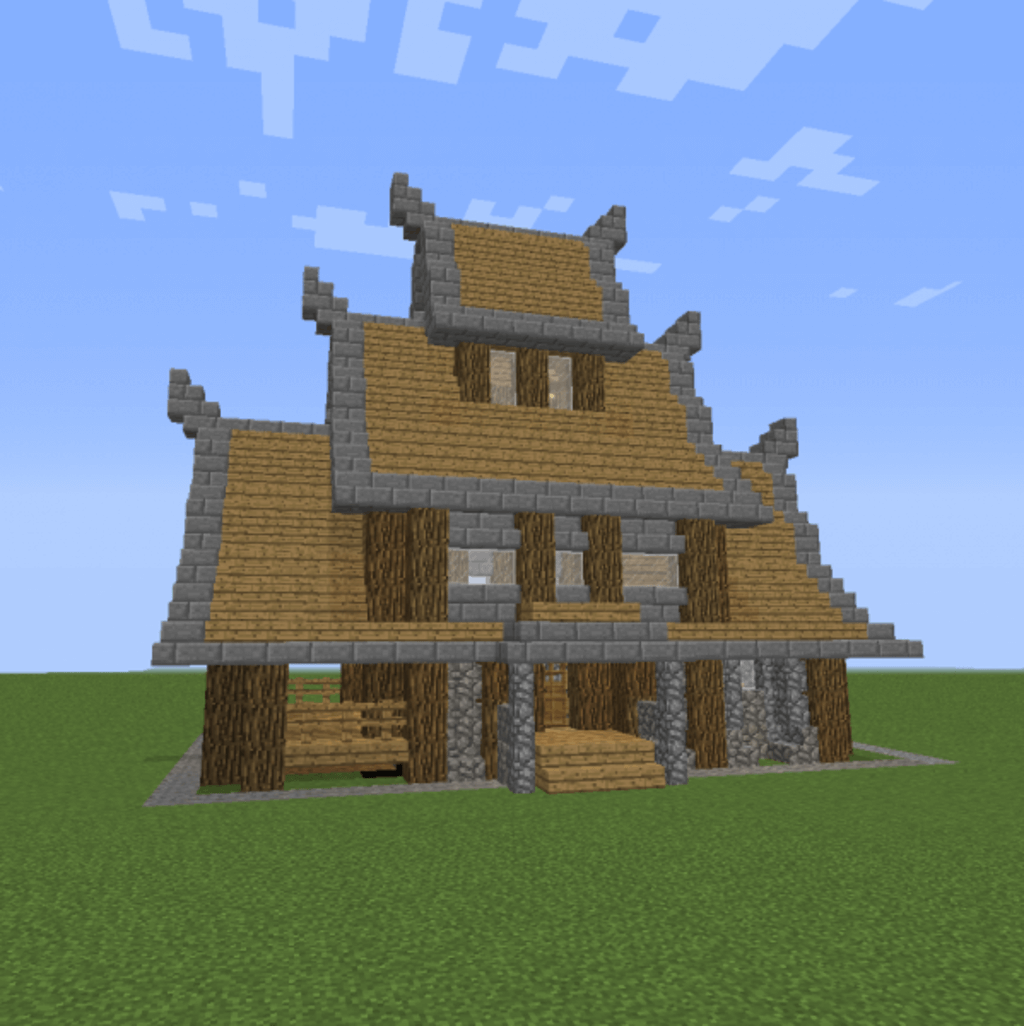
Image Source: stackpathcdn.com
Source: quoracdn.net
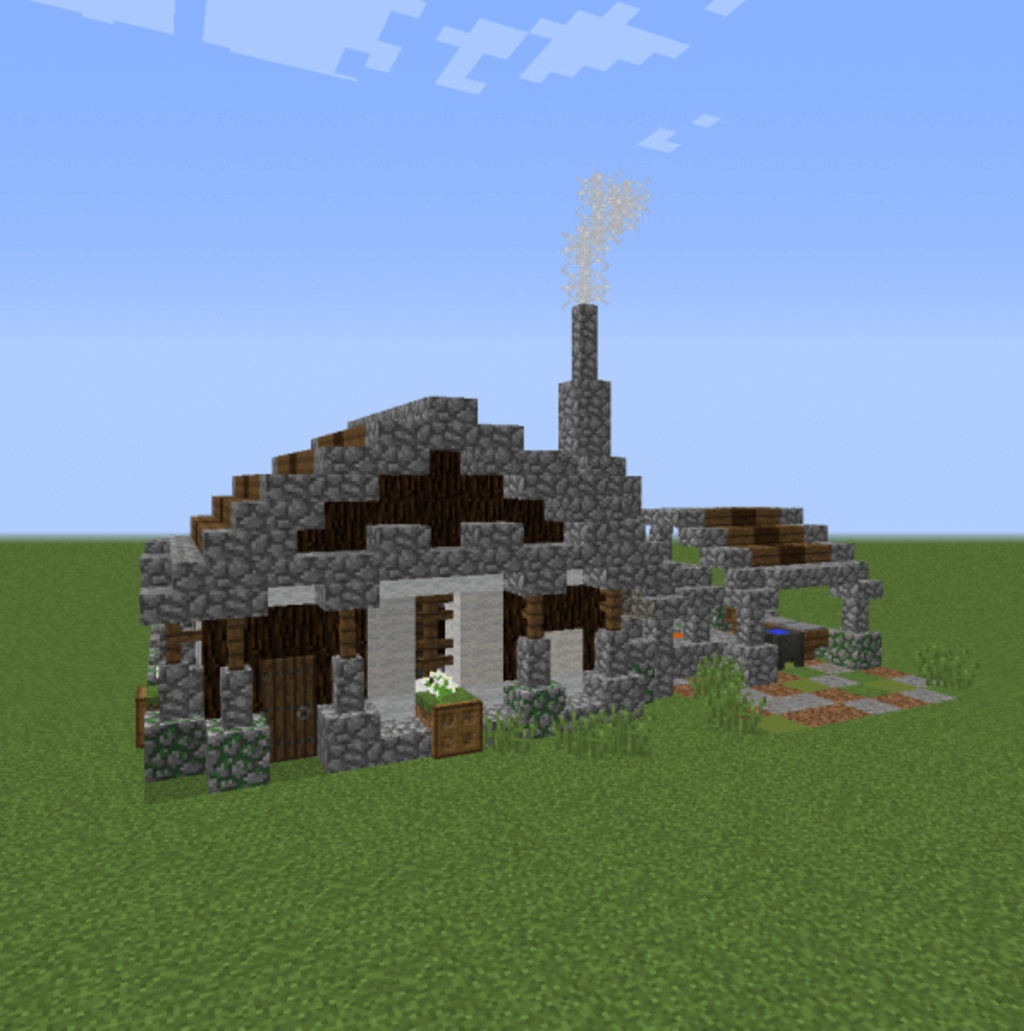
Image Source: stackpathcdn.com
Source: stackpathcdn.com
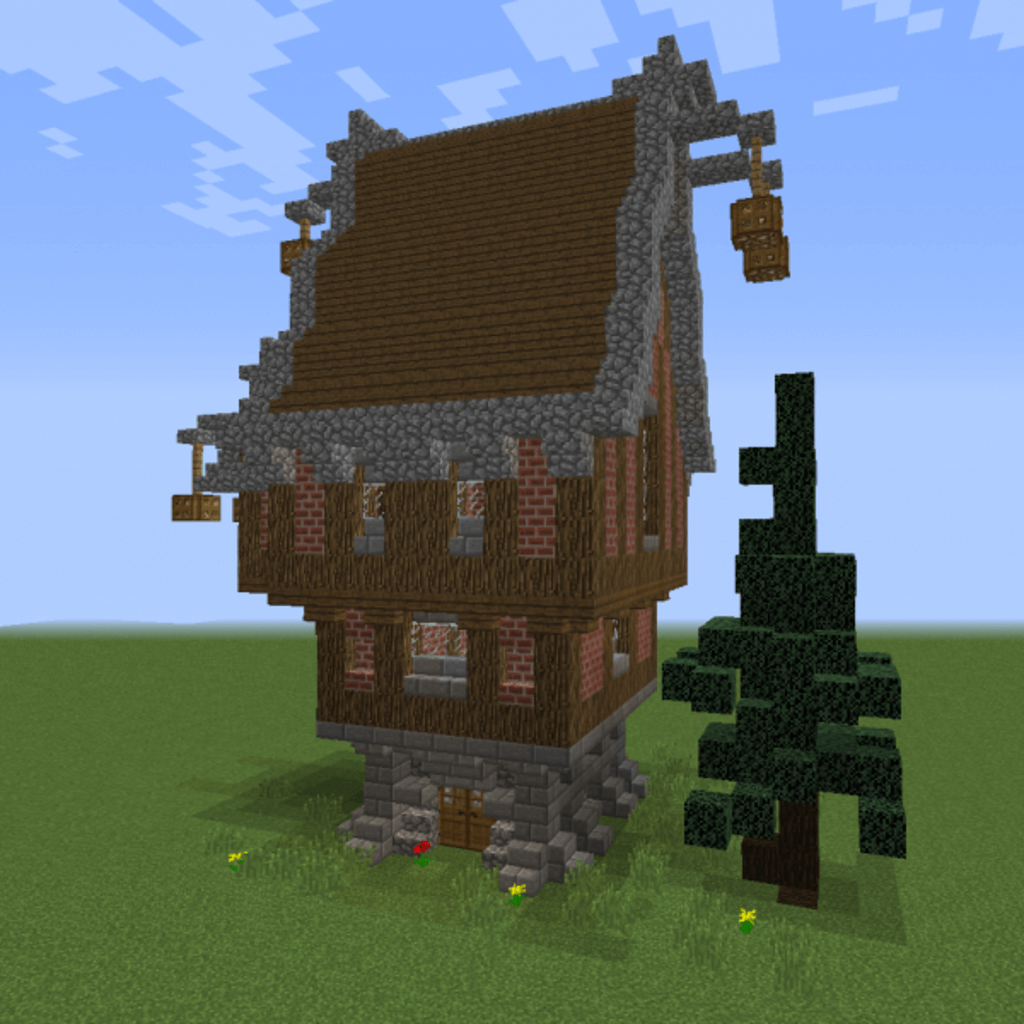
Image Source: stackpathcdn.com
Source: stackpathcdn.com
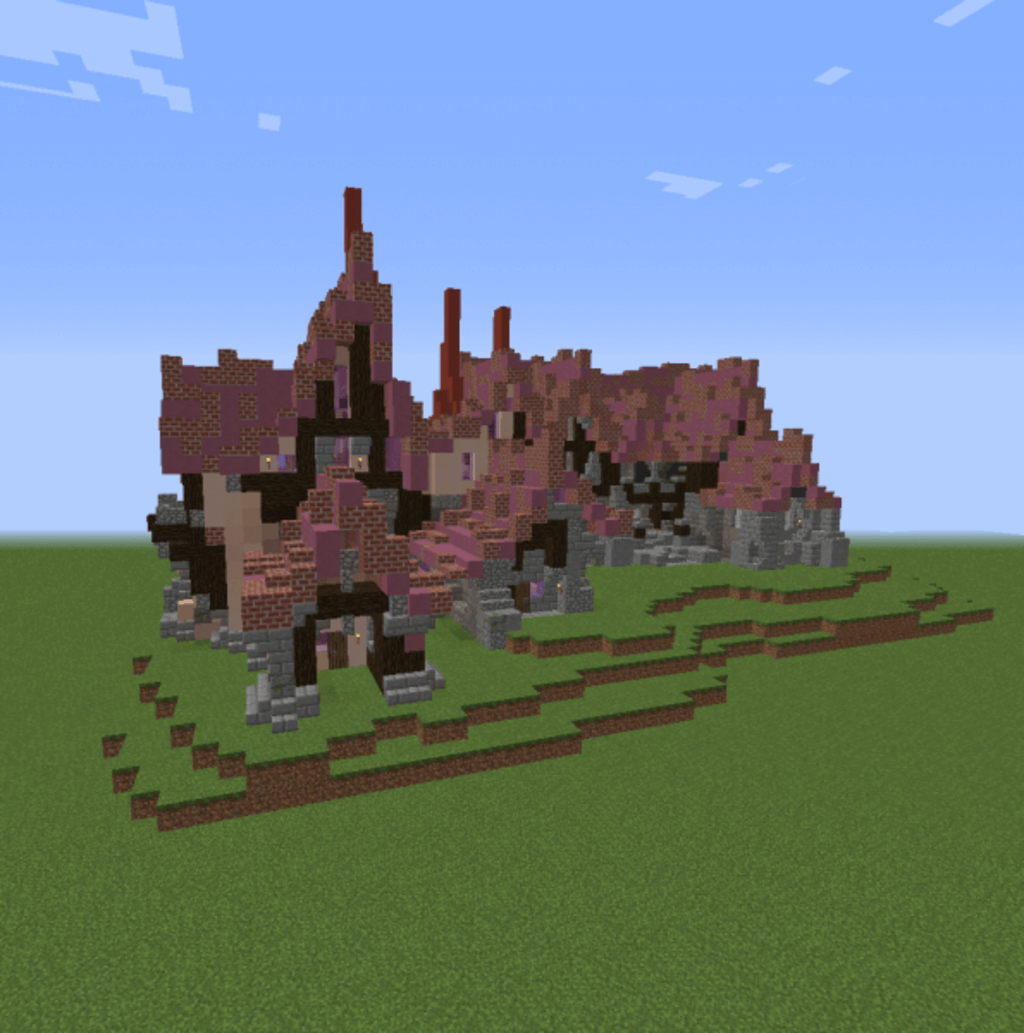
Image Source: stackpathcdn.com
Source: stackpathcdn.com
Image Source: stackpathcdn.com
Source: stackpathcdn.com
Final Thoughts!
Now you know how to build a simple survival medieval house in Minecraft. You can literally create any structure with this procedure. I hope this step-by-step guide has given you some ideas and inspiration for your next Minecraft project. If you find this blog helpful, don't forget to share it with all the Minecraft fans so that they too can make a perfect Minecraft Medieval House!
For more architectural guidance and home decoration ideas, keep coming to Architecturesstyle .
maguirehadmingesen.blogspot.com
Source: https://architecturesstyle.com/minecraft-medieval-house-ideas/
0 Response to "Minecraft House Tutorial Step by Step Easy"
Enregistrer un commentaire